


For detailed information, other images and documents, please select individual articles from the following table.


Chemical injection mortar PURE EPOXY WIT-PE 1000
Pure epoxy mortar with a long processing time, ideal for large anchoring depths and drilling holes as well as high temperatures. For bonded anchor, concrete and post-installed rebar connection with subsequent mortaring (REBAR)

Register now and access more than 6,000 products


Variants
Register now and access more than 6,000 products
- Two-component reactive resin mortar, pure epoxy
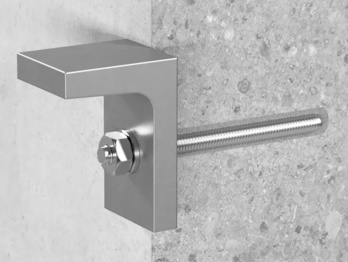
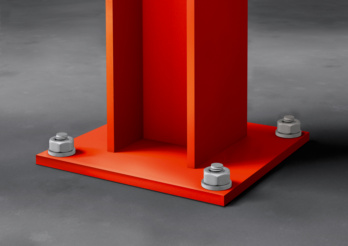
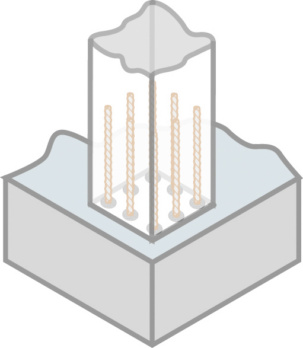
- Individual fixing point in cracked and uncracked concrete, seismic performance category C1 (M8 to M30) and C2 (M12 to M30): Anchor rod W-VI-A, anchor rod W-VD-A, standard threaded rod with acceptance test certificate 3.1, female thread anchor W-VI-IG
- Areas subject to the German Federal Water Act (Wasserhaushaltsgesetz - WHG): Würth WIT-PE 1000 injection system (bonded anchor), anchorage in coated concrete surfaces in SFH facilities
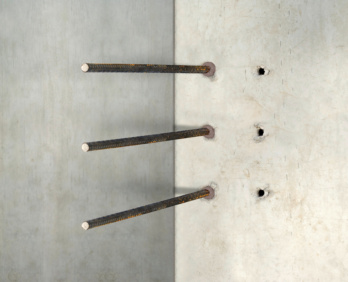
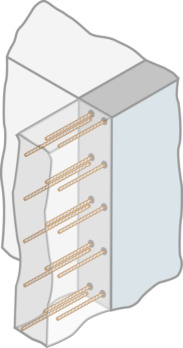
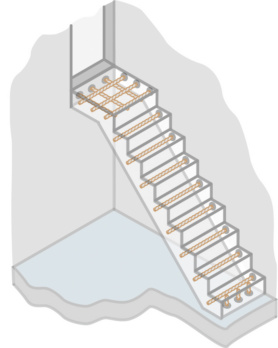
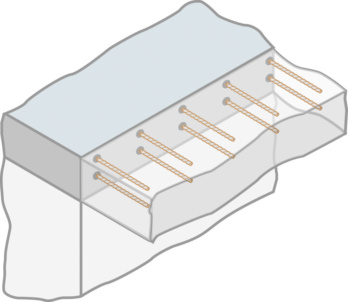
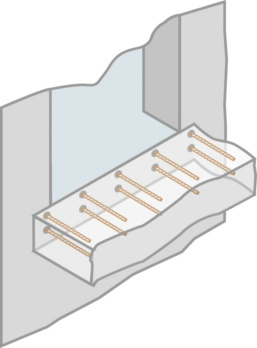
- Post-installed rebar connection
- Anchoring of threaded rods in natural stone (without approval/assessment)
- European Technical Assessment ETA-19/0542: Individual fixing point + cracked and uncracked concrete (anchor rod W-VI-A, anchor rod W-VD-A, standard threaded rod with acceptance test certificate 3.1, female thread anchor W-VI-IG), seismic performance category C1 (M8 to M30) and C2 (M12 to M30)
- European Technical Assessment ETA-19/0543: Post-installed rebar connection (REBAR)
- European Technical Assessment ETA-23/0421: Post-installed rebar connection with improved bond and splitting failure when subjected to static action
- General type approval Z-74.8-219: "WIT-PE 1000 injection system for concrete" fastening system for use in coated concrete surfaces in SFH facilities (anchorage in sealing surfaces subject to the German Federal Water Act)
- General type approval Z-21.8-2156: Post-installed rebar connection subject to fatigue-inducing action
- EPD: Environmental product declaration in accordance with ISO 14025 and EN 15804+A2, EPD-AWU-20230504-CBA4
- Leak test, 7 bar water pressure: MFPA Leipzig GmbH, test report no. PB 5.1/20-424-2
- Fire resistance when exposed to fire in accordance with DIN EN 1363-1: Cracked and uncracked concrete, Ingenieurbüro Thiele Tragwerksplanung GmbH
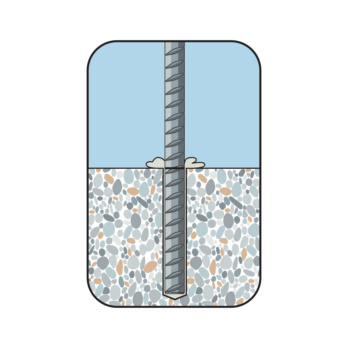
REBAR
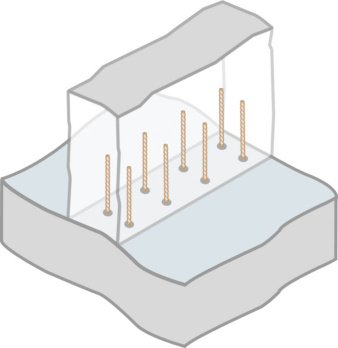
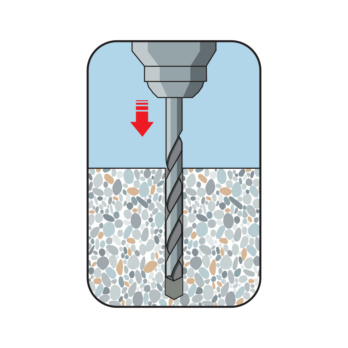
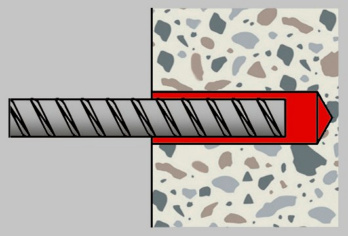
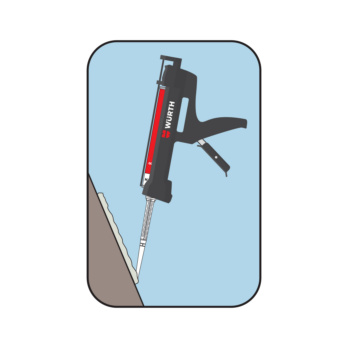
Drill the hole
Make the drill hole using Würth hollow drill bit, there is no need for hole cleaning
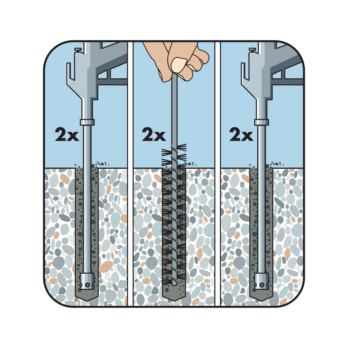
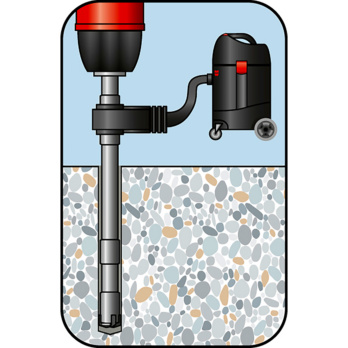
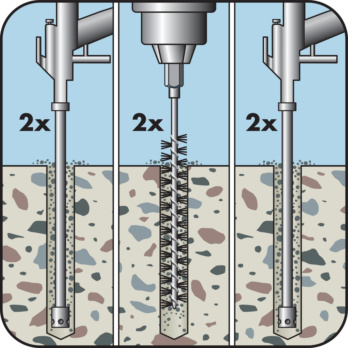
Clean the drill hole:
Blow out 2x with oil-free compressed air (min. 6 bar)/brush out 2x/blow out 2x with oil-free compressed air (min. 6 bar)
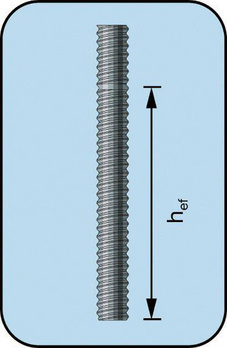
Cut anchor rod to length and mark the desired insertion depths
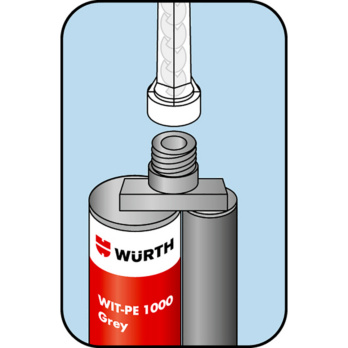
Use WITVL 16 cut off mixer at position "X"
Discard the first section of mortar (until the mortar is uniformly coloured - approx. 10 cm)
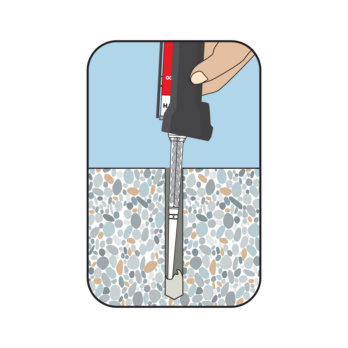
Fill injection mortar starting from base of drill hole
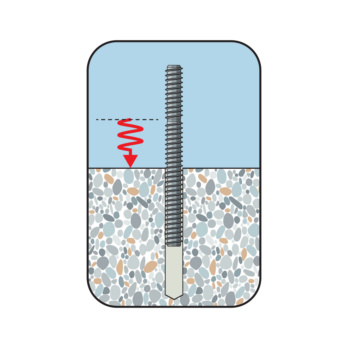
Press in anchor rod up to drill hole base while turning slightly
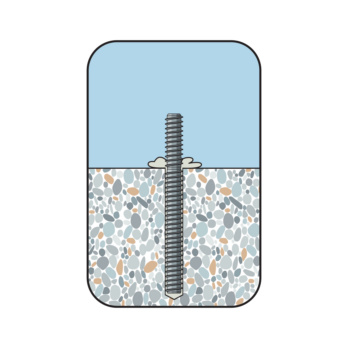
Visual check of mortar volume, embedment depth mark
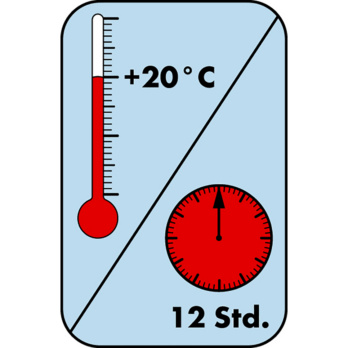
Load can be applied to the reinforcement bar after observing the curing time
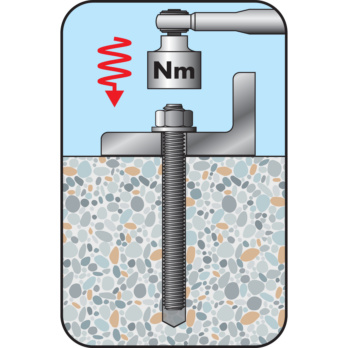
Install component, apply installation torque
Drill the hole
Make the drill hole using Würth hollow drill bit, there is no need for hole cleaning
Clean the drill hole:
Blow out 2x with oil-free compressed air (min. 6 bar)/brush out 2x/blow out 2x with oil-free compressed air (min. 6 bar)
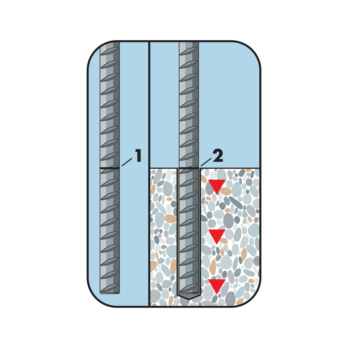
Place the embedment depth mark on the rod and check the drilling hole depth
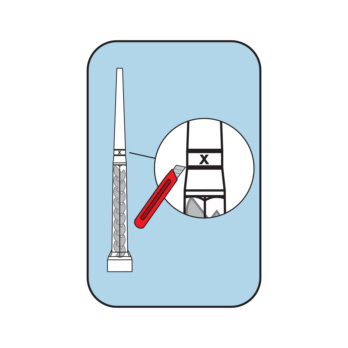
Use WIT-VL 16 Cut off mixer at position "X"
Use WITVL 16 cut off mixer at position "X"
Discard the first section of mortar (until the mortar is uniformly coloured - approx. 10 cm)
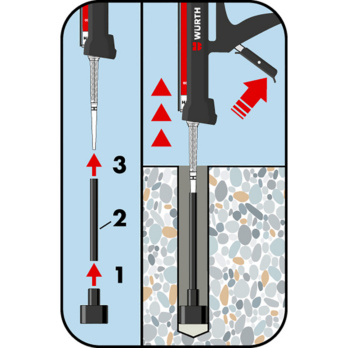
Mount injection equipment, fill composite mortar from bottom of drill hole
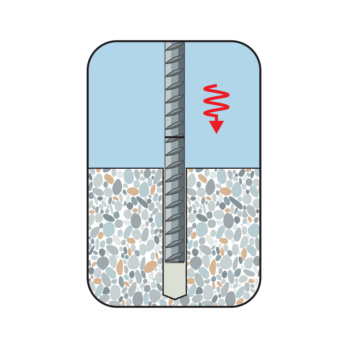
Insert the reinforcement bar until it reaches the mark, turning slightly
Visual check of the mortar volume, observe maximum processing time
Load can be applied to the reinforcement bar after observing the curing time
- European Technical Assessment ETA-19/0542: Individual fixing point + cracked and uncracked concrete (anchor rod W-VI-A, anchor rod W-VD-A, standard threaded rod with acceptance test certificate 3.1, female thread anchor W-VI-IG), seismic performance category C1 (M8 to M30) and C2 (M12 to M30)
- European Technical Assessment ETA-19/0543: Post-installed rebar connection (REBAR)
- European Technical Assessment ETA-23/0421: Post-installed rebar connection with improved bond and splitting failure when subjected to static action
- General type approval Z-74.8-219: "WIT-PE 1000 injection system for concrete" fastening system for use in coated concrete surfaces in SFH facilities (anchorage in sealing surfaces subject to the German Federal Water Act)
- General type approval Z-21.8-2156: Post-installed rebar connection subject to fatigue-inducing action
- EPD: Environmental product declaration in accordance with ISO 14025 and EN 15804+A2, EPD-AWU-20230504-CBA4
- Leak test, 7 bar water pressure: MFPA Leipzig GmbH, test report no. PB 5.1/20-424-2
- Fire resistance when exposed to fire in accordance with DIN EN 1363-1: Cracked and uncracked concrete, Ingenieurbüro Thiele Tragwerksplanung GmbH
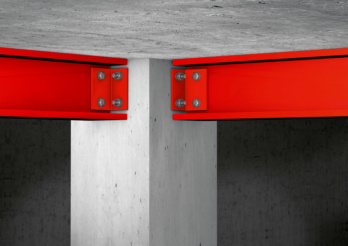
- Suitable for attaching metal structures, metal profiles, wooden structures, brackets etc.
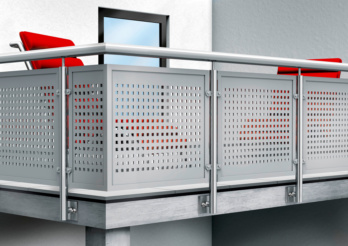
- Suitable for structural expansions, ceiling and wall attachments, expansion of load-bearing structures, reinforcement of load-bearing structures, attachment of balconies and canopies, sealing of temporary openings and "forgotten" reinforcement bars
Select RAL-colour code
!! NOTE: On-screen visualisation of the colour differs from real colour shade!!